
How To Make a Simple Winter Pouch
Created for personal use, not to be used for profit. Instructions by:

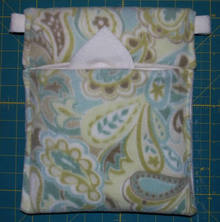
This is a tutorial to make a super-comfy, super-easy pouch for your gliders to cuddle in during the cold winter months!
STEP #1) Choose your fabrics! You'll need 2 pieces of fleece and 1 piece of batting(optional).
STEP #2) Cut all 3 pieces to the following size: 24" long x 11" wide.
STEP #1) Choose your fabrics! You'll need 2 pieces of fleece and 1 piece of batting(optional).
STEP #2) Cut all 3 pieces to the following size: 24" long x 11" wide.
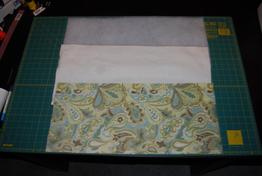
STEP #3) Pin all 3 pieces together. Put the batting on the bottom with the 2 fleece pieces on top, right sides together.
|
|
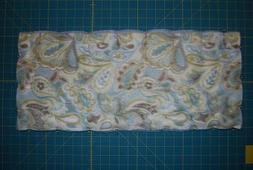
STEP #4) Sew all 3 pieces together( with about 1/2" seam). Be sure to leave a small opening to flip the fabric through later.
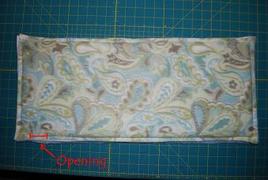
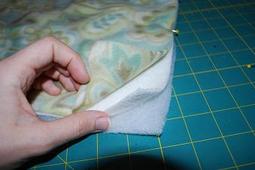
STEP #5) After sewing the pieces together, cut off any excess fabric/batting, snip the corners, and trim the threads.
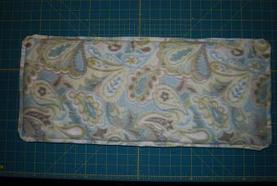
STEP #6) Next, flip the piece right-side out through the small opening that you left.
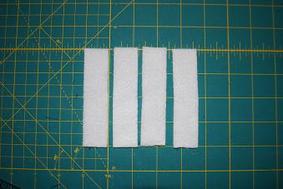
STEP #7) Cut 4 strips of fleece the following size: 2" long x 1" wide. Be sure to cut them so they're stretchy widthwise and not lengthwise, otherwise your pouch will sag.
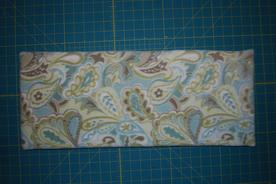
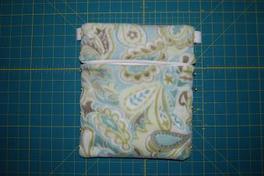
STEP #8) Fold the top of the piece down approx. 3". Then fold up the bottom so that both ends meet. Double up the tabs(the strips you cut in the previous step), fold them in half, and insert them in the top sides of the pouch. Pin everything together.

|
|
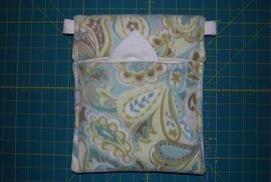
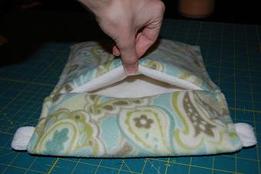
STEP #9) Sew both sides of the pouch. Be sure to reinforce the areas where the slit/entrance is. Also, make sure that you sew shut the small opening that was used to flip the pouch, otherwise you'll have to go back and re-sew(or handsew) it shut. If you want, you can also cut a little blankie(like in the pic) for the gliders to snuggle with.
|
|
